Gardening Tips
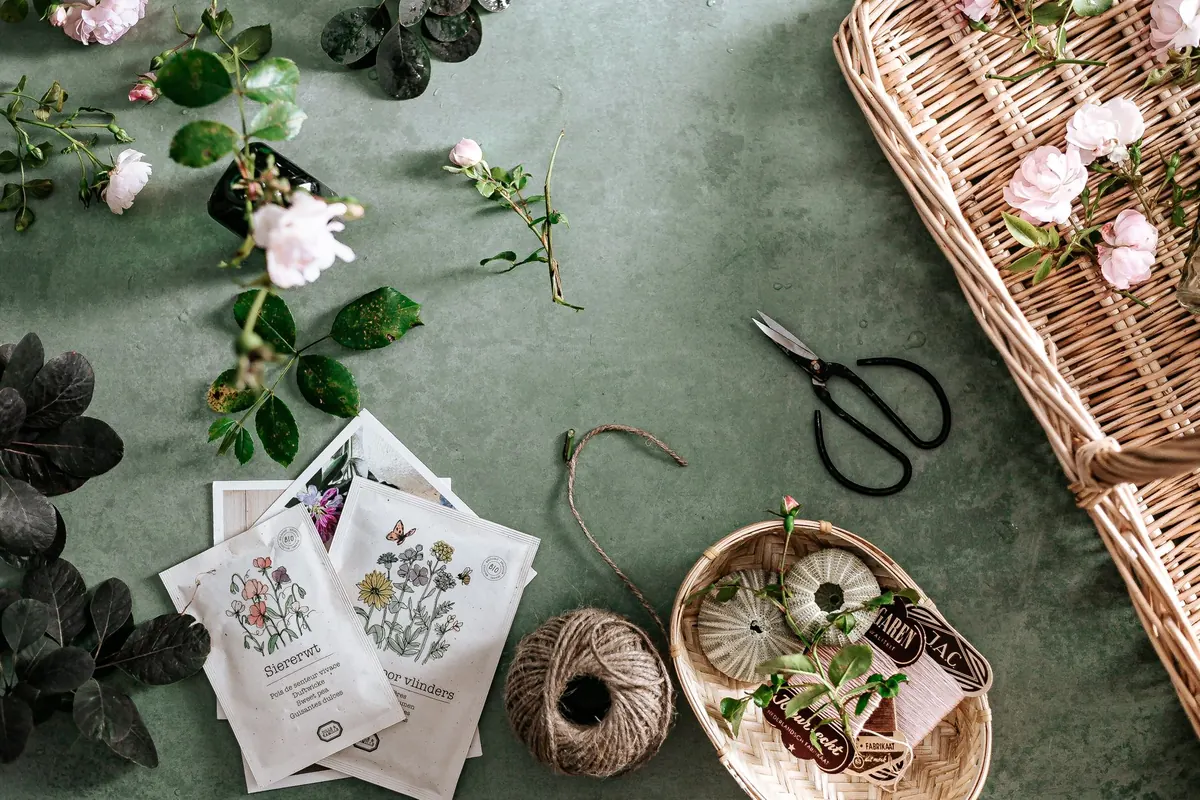
A Beginner's Guide to Reading Seed Packets Correctly
A seed packet is the smallest piece of technical writing most gardeners ever own, and one of the most consequential. On a surface the size of a postcard, the grower has packed sowing depth, final spacing, days to maturity, frost tolerance and a handful of small-print details that decide whether your spring sowing becomes a row of sturdy plants or a patch of bare soil and quiet disappointment. None of it is difficult. It is simply written in a shorthand that assumes you already know what the numbers refer to.
Read the packet properly before you tear it open, and keep it. A plastic plant label in the ground tells you what you sowed; only the packet tells you how far apart the plants should end up and roughly when to expect a harvest.
Read the Front First: Variety, Species and Freshness
The front of the packet sells the dream, but it also carries two pieces of information worth more than the photograph. The first is the variety name, usually in single quotation marks: 'San Marzano', 'Bull's Blood', 'Little Gem'. That is the cultivar, and it is what you will look for again next year if the crop performs well.
The second is the botanical name. It looks like decoration and is anything but. Beta vulgaris covers beetroot, leaf beet and sugar beet; Cucurbita pepo takes in most courgettes and summer squashes, while Cucurbita maxima includes the big, sprawling winter types. Those two squashes need very different amounts of room. When the Latin name and the picture disagree, trust the Latin name.
Look, too, for whether the seed is open-pollinated, heirloom or an F1 hybrid. Open-pollinated varieties can be saved from your own plants and will come reasonably true next season. An F1 hybrid is the first cross of two parent lines; saving its seed gives unpredictable offspring, so buy it fresh each year.
Finally, find the packing or sow-by date. Germination rates fall as seed ages, and a packet at the back of a drawer for three years is a gamble. Old seed is not worthless — sow it more thickly than the packet suggests, keep it a little warmer, and expect gaps. Store unused seed somewhere cool and genuinely dry, not in a shed that swings between damp and baking.
Sowing Depth: The Instruction Beginners Skip
Depth is printed in small numbers and ignored more often than any other line on the packet, yet it is the one most likely to decide whether a sowing succeeds. A seed carries a fixed ration of stored energy. Buried too deep, it may germinate and then fail to push a shoot to the surface before the reserves run out; worse, it may rot in cold, wet soil. Left too shallow, it dries out or is washed away by the first heavy watering.
If the packet gives a measurement, use it — 1 cm, half an inch, a quarter inch. If it says "cover lightly" or "sow on the surface," take that literally. And when no depth is printed, fall back on the rule growers have used for generations: sow at two to three times the diameter of the seed. A bean the size of your fingernail goes in a few centimetres deep; a lettuce seed barely needs pressing into the compost.
- Light-dependent germinators such as lettuce, poppy and many small herbs need light to sprout. Press them onto damp compost and leave them uncovered.
- Fine seed is easier to handle mixed with a little dry sand, which also shows you where you have already sown.
- Pelleted seed is coated for easier handling; treat the pellet as the seed and sow it at the depth stated.
- Water the drill before sowing, not after, so you do not wash the seed deeper or into a heap.
Measure the depth with something — the end of a pencil, a marked stick, a finger joint you have checked against a ruler once. "About right" is how seedlings end up in uneven rows.
Spacing, Thinning and the Space Plants Actually Need
Packets usually give two numbers, and beginners often follow the wrong one. The first is sowing spacing: the distance between seeds in the row. The second, sometimes in brackets after the word "thin," is the final spacing the mature plant requires. That second number is the one that matters in July and August.
Crowded plants compete for light, water and nutrients, and a dense canopy holds moisture against the leaves — the conditions in which mildew and rot thrive. Thinning feels wasteful the first time you do it. Do it anyway, in two or three passes rather than one brutal session, and eat the thinnings: young beetroot leaves, baby carrots and lettuce seedlings are a genuine crop in themselves.
A few practical adjustments to the printed figures:
- For a reliable stand, sow two or three seeds per station and thin to the strongest seedling.
- Plants in containers need more room than the packet suggests, because roots cannot spread sideways into open ground.
- Use the slow crops as a frame: sow quick radishes or salad leaves between rows of brassicas that will not fill the space for weeks.
- Mark the final spacing on the soil with a stick before you sow, so the row looks right from the start.
Days to Maturity: A Number That Needs a Starting Point
"75 days" tells you almost nothing until you know what it is counting from. This is where most beginners go wrong, and it is worth a minute of attention.
Where the count starts
For crops raised indoors and transplanted — tomatoes, peppers, aubergines, and most brassicas — the figure usually runs from the day the seedlings go into the ground, not from sowing. Your indoor weeks are extra. For crops sown where they are to grow, such as carrots, beans, peas and salad, the count normally starts at sowing, sometimes at germination. If the packet is unclear, assume the shorter, more cautious reading and add a couple of weeks of margin.
Fitting the crop to your season
Treat days to maturity as an estimate under decent conditions, not a promise. Cool spells, shade and dry soil all stretch it. The most useful thing you can do with the number is check it against your first expected autumn frost. If winter squash needs around 100 days from sowing and your first frost usually arrives in mid-October, a sowing in late June leaves almost no margin — one cold, slow month and the fruit never ripens. Sown in mid-May, the same variety has room to spare. Do that sum once per packet and you will stop losing crops to the calendar.
Hardiness, Frost Dates and the Words That Sound Alike
Hardiness notes tell you when a plant can safely be outside, and they are written in a vocabulary worth learning properly:
- Hardy — tolerates frost; can often be sown or planted outdoors before the last frost.
- Half-hardy — grows away happily in warmth but is damaged by cold; plant out only once the risk of frost has passed.
- Tender — likes real heat and sulks below about 10°C; these are your indoor-started crops.
- Annual, biennial, perennial — one season, two seasons, or many. Biennials such as onions and some brassicas need a cold period before they flower, which is why a stray overwintered root bolts in spring.
Two cautions. First, hardiness zones printed on packets may follow a system built for a different climate from yours; use them as a rough guide and trust your own garden's behaviour over several seasons. Second, a plant's reaction to day length is separate from its reaction to cold. Spinach and some onions bolt as days lengthen regardless of temperature, so a late sowing can run to seed before it makes a usable head.
Keep a note of your own last and first frost dates, even roughly. It turns every hardiness instruction on every packet into something you can act on immediately, rather than a phrase to look up later.
A Five-Minute Habit Before You Sow
Before any packet is opened, run through this once. It takes less time than filling a watering can and saves whole sowings.
- Read the botanical name and the sow-by date; decide whether the seed is fresh enough to sow thickly.
- Note the sowing depth and the final spacing, not the sowing spacing, and mark both out.
- Check whether days to maturity count from sowing or from transplanting.
- Compare those days with your first frost date and your last one.
- Write the variety and the sowing date on a label, and keep the packet somewhere dry until harvest.
Do this a few times and the shorthand stops being shorthand. You will find yourself reading a packet in the shop the way you read the back of a food label — quickly, and knowing exactly which line you are looking for.
Photo: Micheile Henderson / Pexels
Related Articles