Garden Design
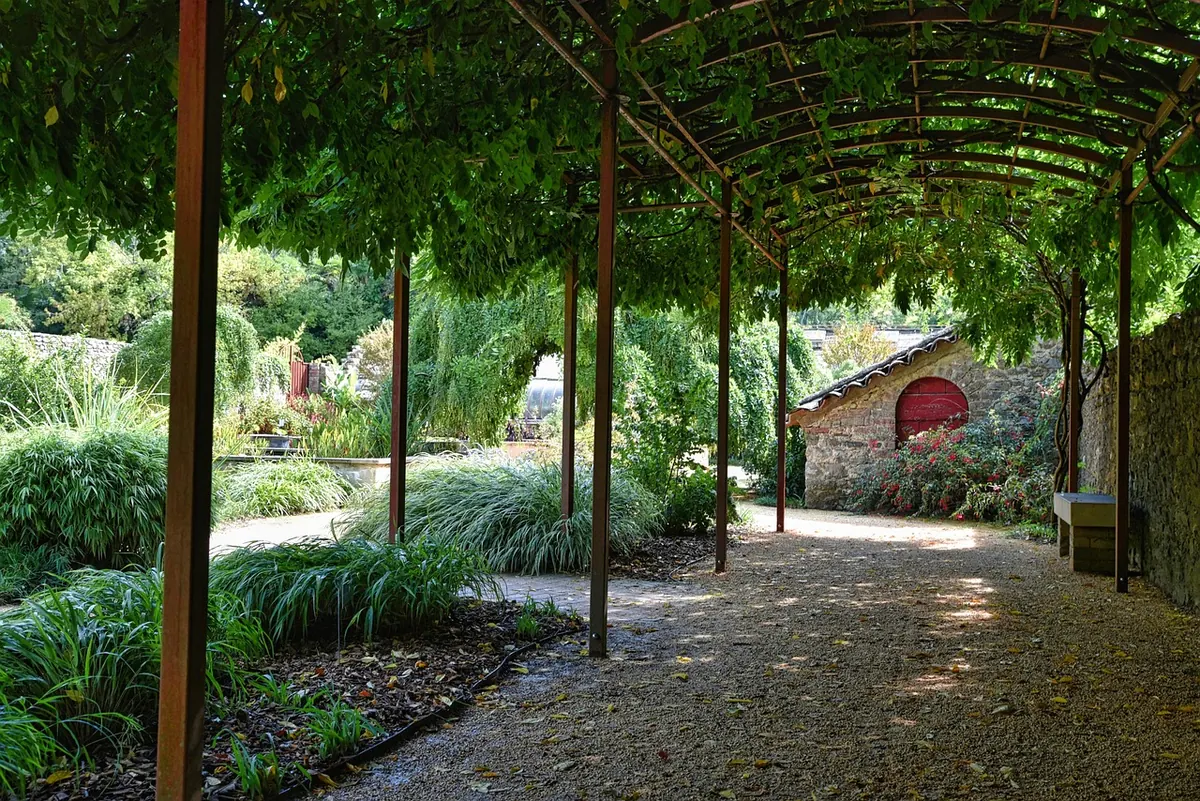
How to Create a Mediterranean Gravel Garden with Drought-Tolerant Plants
A gravel garden is not a shortcut for people who dislike weeding. It is a different way of thinking about a hot, sunny site: fewer plants, more space between them, and a surface that reflects light and keeps the soil below cool. Do the preparation properly and the planting will look settled within two seasons and ask for a handful of days' work a year. Skip it, and you will spend every summer watering lavender that sulks in wet clay. Almost everything that decides whether this kind of garden succeeds happens before the first plant goes into the ground.
The good news is that the preparation is mostly digging, hauling and patience — no special skill required. What follows is the order I would work in, from reading the site to the small jobs that keep the planting in shape.
Read the site before you dig
Before you order a single tonne of gravel, watch the space. Note how many hours of direct sun it gets in midsummer, which way it faces, and where the wind comes from. Mediterranean plants want heat and light, but the factor that kills more of them than drought is winter wet. A slope, a raised bed or a free-draining soil matters more than a south-facing wall, though a warm wall helps enormously and lets you push your luck with slightly tender things.
Look too at what happens in heavy rain. Is there a low corner where water stands for a day? Does the ground stay spongy until April? Those are the spots to raise, divert or plant with something that tolerates the damp. Check how deep the soil is over rock or rubble, as well: a thin layer over chalk or stone drains fast and dries out quickly, which is ideal, but it also means plants need to go in small and be watered through their first summer.
Preparing the soil
The rule that trips up most people is this: Mediterranean plants want lean, sharp-draining soil, not rich soil. Manure, thick compost and fertiliser produce soft, floppy growth that collapses in wind, flowers poorly, and makes lavender and cistus short-lived. Hold back. If the ground is already reasonably free-draining, you may only need to clear weeds and open the surface with a fork.
On heavier ground, work 5–10 cm of horticultural grit into the top 20–25 cm, breaking up any compacted layer underneath without burying the topsoil. On clay, grit alone is rarely enough; mound the planting positions or build low raised beds 20–30 cm deep and fill them with a gritty, soil-based mix. It sounds like hard work, and it is, but it is the difference between a garden that thrives and one that quietly rots through its first winter.
A simple drainage test
- On a dry day, dig a hole about 30 cm deep and 30 cm across.
- Fill it with water and let it drain away completely.
- Fill it a second time and watch. If water is still standing several hours later, the site needs raising, mounding or a land drain before you plant anything.
Do this in two or three places, because drainage varies across even a small garden. While you are at it, clear perennial weeds properly — bindweed, ground elder and bramble are far easier to deal with now than through a layer of stone.
Choosing and laying gravel
Gravel is the mulch, the mulch is the design, and it is worth getting right. Choose a washed, angular gravel around 6–10 mm for most gardens, or 10–20 mm for larger schemes where a finer grade would look fussy. Angular stone knits together and stays put; rounded pea gravel migrates, rolls underfoot on paths and slopes, and never looks tidy for long.
Pick a stone that occurs locally, in a muted buff, grey or honey tone. Bright white gravel glares in summer sun, shows every fallen leaf and makes the plants look like ornaments in a shop window.
Lay it 5–7 cm deep, over the whole planted area, not just between the plants. A membrane underneath is optional: it helps in the first year against perennial weeds, but it makes planting, splitting and self-seeding more awkward and eventually works its way to the surface in places. I would rather clear the ground thoroughly, plant fairly densely and top up the gravel each spring. Edge the area with steel strip or stone set flush to stop the gravel migrating into lawn or paving.
One important detail: keep stone clear of plant crowns. Pull the gravel back a couple of centimetres around the base of lavender, rosemary and cistus so that damp stone never sits against the stem. Collar rot in wet winters does more damage than any drought.
Planting through the gravel
Plant first, gravel second — the reverse order means scraping stone aside for every addition. Set each plant so the top of its rootball sits level with or slightly proud of the surrounding soil, backfill with a mix of garden soil and grit, and firm gently. Then water thoroughly, even if rain is forecast.
Space plants generously. Half the effect of a gravel garden comes from the gaps: the stone running between cushions of thyme, the shadows on the ground. Cramming plants together looks generous for one season and then becomes a scuffle for light and air. Small plants in autumn establish far better than large ones in summer, and autumn planting gives roots months of warm soil before the first dry spell. In colder gardens, plant in spring instead.
Choosing plants that belong
Choose for foliage as much as flower. A gravel garden is largely a leaves-and-texture garden, with colour arriving in waves. Group plants in threes or fives rather than dotting one of everything about, and repeat the same plant in two or three places to pull the scheme together.
- Silver and grey foliage: lavender, santolina, curry plant, ballotа, helichrysum, artemisia.
- Aromatic herbs: rosemary, thyme, oregano, sage, winter savory — useful as well as handsome.
- Summer colour: cistus, perovskia, salvia, phlomis, caryopteris, gaura.
- Structure and form: Euphorbia characias, agave and yucca where winters allow, olive, cypress, phillyrea.
- Grasses: Stipa tenuissima, Festuca glauca, sesleria — good in wind and low on water.
- Bulbs for early colour: alliums, narcissus, Iris unguicularis, cyclamen in the shade of shrubs.
Leave room for self-seeders — verbascum, nigella, eryngium, the odd foxglove. Seedlings that arrive of their own accord always look better placed than anything you plant. Avoid anything described on the label as needing moisture-retentive soil; it is a polite warning that the plant will fail here.
The first two summers, and after
New plants need help while their roots reach down. In the first summer, water deeply and infrequently — a good soak at the base every ten days to a fortnight in dry weather, rather than a daily sprinkle. Deep watering encourages roots downward. In the second summer, water only in genuinely prolonged drought, and by the third most of these plants will look after themselves.
Weed little and often, before anything sets seed; a hoe on a dry morning deals with annual weeds in minutes, and gravel makes hand-pulling easy while weeds are small. Rake fallen leaves off the stone each autumn, because leaf litter breaks down into a seedbed and, over time, turns your gravel mulch into ordinary soil.
A year of small jobs
Late winter is for cutting back: last year's stems of perovskia, caryopteris and salvia, the old flowered stems of grasses, and any tired foliage on euphorbia. In spring, top up the gravel, check the edging and pull the stone back from plant crowns. Prune lavender as the flowers fade, taking the spent stalks plus a couple of centimetres of leaf — never cut into the bare old wood, which rarely regrows. Rosemary and santolina take a light trim after flowering and no more.
That is the whole routine: a day or two in late winter, an afternoon in spring, a few passes with the shears in summer. Do those and the gravel stays clean, the plants stay compact, and the garden keeps the spare, sunlit calm that made you want one in the first place.
Photo: lecreusois / Pixabay
Related Articles