Landscaping
Mulch Depth Checklist: How Much to Use Around Trees, Beds, and Vegetables
There is a moment in every gardening season when the beds look bare, the bags are stacked by the shed, and the temptation is to dump and run. Mulch is forgiving, but it is not indifferent to quantity. Spread too little and the weeds win by July. Spread too much and water runs off the surface instead of soaking in, roots below begin to struggle for air, and the trunk of your best tree stays damp far longer than it should. The checklist below gives you a working depth for each part of the garden, plus the small habits that keep a good mulch job from turning into a problem.
The Two Numbers That Do Most of the Work
Almost every reliable recommendation sits between one and four inches, and the variables that decide where you land are simple: texture, soil, and climate.
Texture first. Fine mulches such as compost, leaf mould, grass clippings and screened bark knit together into a mat. Spread them thick and they shed water rather than absorb it, so they go on thin, roughly one to two inches. Coarse materials like chunk bark, wood chips and pine nuggets leave air gaps and can be layered three to four inches deep without sealing the soil.
Then drainage and rainfall. On heavy clay, or in a garden that stays wet through spring, lean toward the shallow end of every range. In sandy soil under a hot sun, mulch disappears faster and roots dry quicker, so the deeper end makes sense. A cooler, humid climate slows decomposition; a hot, dry one speeds it up.
Recommended Depth by Planting Area
Trees and Shrub Borders
Two to four inches is the standard, and three is a sensible middle for most ornamental trees. The more useful figure is width: extend the mulch ring to the drip line, or at minimum three feet out from the trunk, so the mulch sits over the feeder roots that actually need the moisture. A narrow collar of mulch around a trunk does very little except hide the mower.
Perennial Beds and Mixed Borders
Two to three inches for most established perennials, dropping to one to two inches where the mulch is fine or the soil is slow to drain. The detail that matters here is the crown. Herbaceous perennials push new growth from the point where stems meet roots, and burying that point in three inches of bark is a reliable way to lose plants over winter. Pull the mulch back slightly around crowns, and keep it off the soft new shoots of late starters like hardy geraniums and balloon flower.
Vegetable Beds
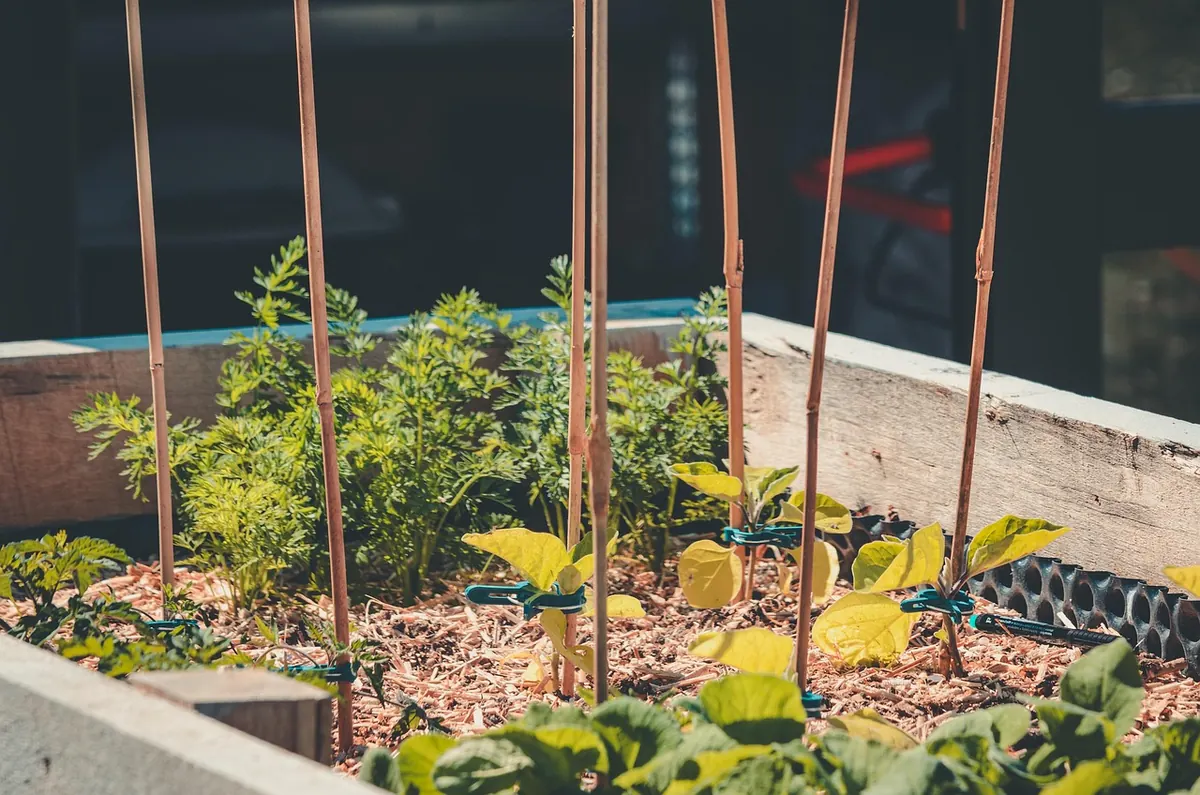
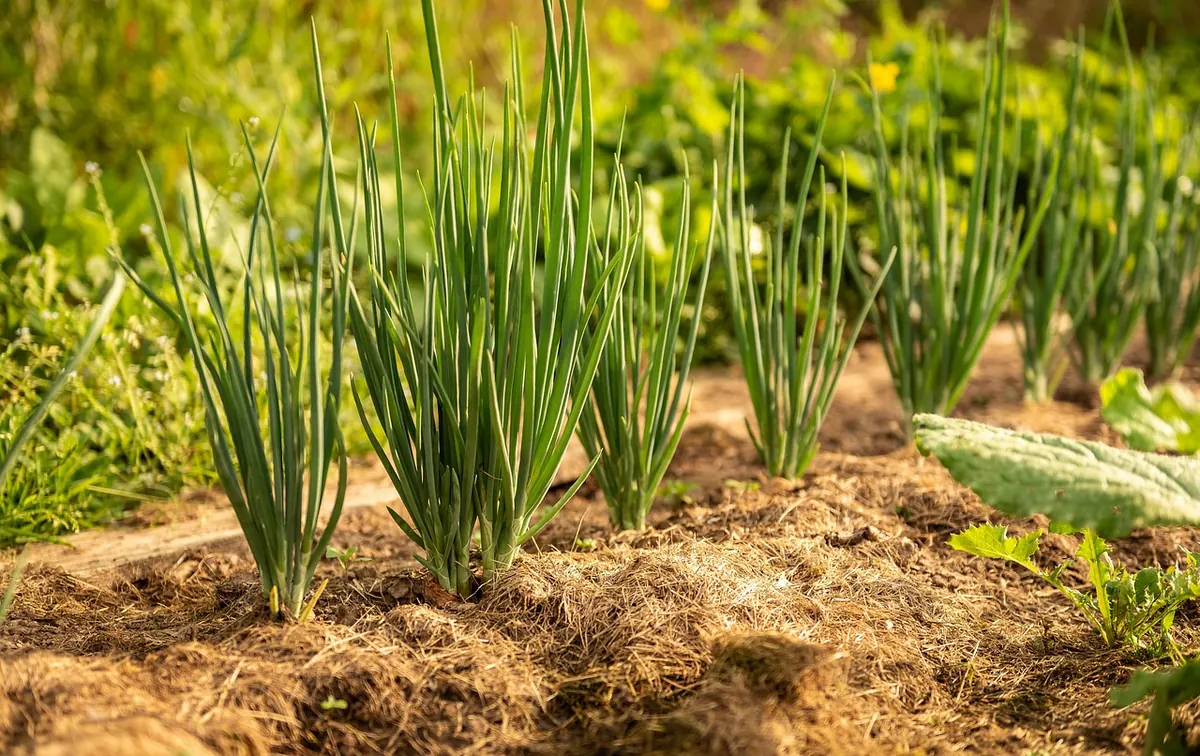
Annual vegetables do best with one to two inches, applied after the soil has warmed and seedlings are up and growing. Mulching cold soil in early spring keeps it cold, which is the opposite of what tomatoes and courgettes want. Straw, shredded leaves, compost and dried grass clippings all work well at this depth. For long-standing crops such as asparagus, rhubarb and artichokes, three inches is reasonable. Leave a clear gap around the stems of anything fleshy, and skip fresh manure or uncomposted wood chips in beds you plan to dig or sow into soon.
Annuals, Containers, and Groundcover
One inch is plenty in borders of annuals, and it should sit well away from stems. In containers, half an inch to an inch of fine mulch reduces evaporation noticeably, but keep it off the base of the plant and leave the rim clear so water can still enter. Low, spreading groundcovers resent smothering; a light scattering of leaf mould is usually enough, and coarse bark should be kept back from the crowns.
Slopes, Paths, and Between Rows
On a slope, use a coarse mulch at two to three inches and lay it slightly rougher than usual so it grips. Fine mulch on a gradient simply washes off in the first heavy rain and takes your topsoil with it. Garden paths are the one place to be generous: three to four inches of bark or wood chips over a membrane holds up well underfoot.
The Trunk Rule: Keep Mulch Off the Bark
The cone of mulch piled against a tree trunk has become so common that it looks correct. It isn't. Bark is not designed to stay permanently wet, and a deep, damp collar softens it, invites decay, and gives rodents a sheltered run at the base. It also hides the root flare, the point where the trunk widens into roots, which should be visible.
Pull the mulch back so there is a clear gap of three to six inches between the material and the trunk, and keep the ring flat rather than mounded. The shape you're aiming for is a shallow saucer, not a volcano. The same applies to shrubs, roses and the stems of young fruit trees, and it matters even more in poorly drained spots.
How to Check Depth Without a Tape Measure
Mulch settles, and what looks like three inches when fresh can be two by the following month. Push a finger straight down into the layer. If you reach soil at the second knuckle, you have roughly the right amount. If your fingertip meets mulch and nothing else, it is too deep.
A cheap soil probe, a marked stick, or the handle of a trowel works just as well. Measure the total layer, not just what you have added this year: existing mulch that has broken down partly still counts. Where the old layer has decomposed into a dark, compacted mat, break it up with a fork before adding anything.
Mistakes That Cancel Out the Benefits
- Measuring only the new layer. Topping up two inches every spring quickly builds a layer that is far too deep.
- Mulching dry soil. Water the bed first, then spread. A dry layer under mulch stays dry for weeks.
- Piling against trunks and crowns. The most common and most damaging error in the whole job.
- Using fresh, uncomposted material on beds you will sow. It can tie up nitrogen and heat up as it breaks down.
- Sealing the surface with fine mulch. Rake it lightly once or twice a season to keep it open to water.
- Mulching cold, wet soil in early spring. Wait until the ground has warmed and dried a little.
- Burying shallow-rooted shrubs. Azaleas, rhododendrons and many heathers prefer a thinner layer, kept back from the stem.
Topping Up Through the Year
Check depths in early spring, before the season gets busy, and again in autumn after leaf fall. In most beds one inch is all you will need to restore the look and the function, provided the total stays within the range for that area. If you find four inches or more of old material, rake some off and put it on the compost heap or around a thirsty shrub rather than adding more.
Keep a note of what went where. A two-line entry in a garden notebook, recording the material and the depth, saves you from guessing next spring and makes it far easier to tell whether a struggling plant is suffering from too much mulch or too little water.
A Field Checklist Before You Open the Next Bag
- Check the total depth with a finger or probe, not just the new layer.
- Match depth to texture: one to two inches for fine mulch, three to four for coarse.
- Water the soil before spreading over dry ground.
- Keep a three to six inch gap clear around every trunk and stem.
- Pull mulch back from perennial crowns and low groundcovers.
- Hold vegetables at one to two inches and wait for warm soil.
- Rake the surface lightly if it has crusted over.
Get the depth right and mulch does its quiet work: fewer weeds, steadier moisture, cooler roots in July and warmer roots in January. Get it wrong and the same material becomes a barrier. The difference is usually an inch, and a little attention at the base of your trees.
Photo: AndreasGoellner / Pixabay
Related Articles